How to Reheat Frozen Gluten-Free Bagels
You froze your bagels. Now what?
You did the smart thing and froze your gluten-free bagels. They’re safely tucked away in your freezer, ready whenever you need them. But when morning comes and you’re staring at a frozen bagel with your coffee getting cold, the question hits: how do you actually reheat this thing without turning it into rubber or a sponge?
Here’s the deal, reheating frozen gluten-free bagels isn’t rocket science, but it’s also not the same as reheating regular wheat bagels. Gluten-free baked goods have different moisture content, different binding agents, and different reactions to heat.
Get it wrong, and you’ll end up with either a dried-out hockey puck or a sad, soggy mess. Get it right, and you’ll have a perfectly chewy, golden bagel that tastes like it just came out of the oven.
Why reheating gluten-free bagels matters
With regular wheat bagels, you can get away with lazy reheating. Toss them in the microwave, throw them in a toaster on any setting, or even eat them cold if you’re desperate. Gluten gives wheat baked goods a forgiving structure that bounces back.
Gluten-free bagels don’t have that safety net.
Without gluten, the starches and alternative flours behave differently under heat. Too much direct heat too fast? Dry and crumbly. Too much moisture? Gummy and weird. The wrong reheating method can completely wreck the texture you worked so hard to find in a quality gluten-free bagel.
The good news is that once you know what you’re doing, it’s actually easy. You just need to know which method works best for your situation and more importantly, which mistakes to avoid.
The difference with frozen gluten-free bagels
When you freeze a gluten-free bagel, you’re locking in moisture and texture at a specific point in time. That’s why freezing is actually the best way to store gluten-free bagels, it stops the clock on staleness.
But frozen means you’re working with ice crystals. When you reheat, those crystals melt and release moisture back into the bagel. If you don’t manage that moisture properly, you get sogginess. If you apply too much heat too fast trying to avoid sogginess, you dry the bagel out before the inside even warms up.
The trick is controlling the heat and timing so the bagel thaws evenly, warms through, and gets that crispy-on-the-outside, chewy-on-the-inside texture you want.
Common reheating mistakes (and why they ruin your bagel)
Before we get into what works, let’s talk about what doesn’t.
Microwaving on high for too long Turns your bagel into a spongy, rubbery disaster. The microwave heats unevenly and steams the bagel instead of toasting it.
Toasting on max heat straight from frozen Burns the outside while leaving the inside cold and hard. Gluten-free bagels need gentler, more even heat.
Skipping the thaw entirely Some people try to go straight from freezer to plate. Unless you enjoy frozen centers and tough crusts, don’t do this.
Leaving them out to thaw for hours Yes, you can thaw at room temp, but leaving them out too long invites staleness. Gluten-free baked goods dry out fast once thawed.
Reheating in the oven without covering This can work, but if you don’t cover the bagel or add moisture, it dries out before it finishes warming.
The bottom line: gluten-free bagels need a little more care than wheat bagels. It’s not complicated, but you do need to pay attention.
What to do instead: Step-by-step reheating methods
Here are the three best ways to reheat frozen gluten-free bagels, ranked by results.
Method 1: Toaster (Best for speed and texture)
This is the go-to method for most people, and for good reason. It’s fast, requires zero prep, and gives you that crispy-outside, warm-inside result you’re after.
Step 1: Take your frozen bagel out of the freezer. If it’s whole, slice it now (yes, while frozen, it’s easier to slice cleanly this way).
Step 2: Let it sit at room temperature for 5–10 minutes. This gives the ice crystals a head start on melting without leaving the bagel out long enough to get stale.
Step 3: Set your toaster to medium heat (not high). Drop the bagel halves in.
Step 4: Toast for one full cycle. Check the bagel. If it’s warm all the way through and golden on the surface, you’re done. If not, toast for another 30 seconds to 1 minute.
Step 5: Let it cool for 30 seconds before adding toppings. This lets the steam escape and the texture set.
Pro tip: If your toaster has a “defrost” or “frozen” setting, use it. It’s designed to toast frozen bread more gently and evenly.
Method 2: Oven (Best for multiple bagels or even heating)
If you’re reheating more than one bagel, or if you want maximum control over the process, the oven is your friend.
Step 1: Preheat your oven to 350°F (175°C). Don’t skip the preheat, cold ovens lead to uneven heating.
Step 2: Slice your frozen bagels if they aren’t already sliced.
Step 3: Wrap each bagel half loosely in aluminum foil. This traps just enough moisture to keep the bagel from drying out while it warms.
Step 4: Place the wrapped bagels on a baking sheet and put them in the oven.
Step 5: Heat for 10–12 minutes. For a crispier exterior, unwrap the bagels for the last 2–3 minutes.
Step 6: Remove from the oven, let cool for a minute, and enjoy.
Pro tip: If you want extra crispy bagels, skip the foil entirely and brush the cut sides lightly with olive oil or melted butter before baking. This adds flavor and prevents drying.
Method 3: Microwave + toaster combo (Best for ultra-fast results)
This method gets a bad rap, but done right, it’s actually a solid option when you’re in a serious rush.
Step 1: Take your frozen bagel out and slice it if needed.
Step 2: Wrap the bagel halves in a damp (not soaking) paper towel.
Step 3: Microwave on 50% power for 20–30 seconds. The goal is to defrost and warm, not cook.
Step 4: Unwrap the bagel and immediately transfer it to the toaster.
Step 5: Toast on medium for 1–2 minutes until golden and crispy.
Why this works: The microwave defrosts and warms the bagel quickly without drying it out (thanks to the damp paper towel). The toaster finishes the job by adding the crispy texture a microwave can’t deliver.
Warning: Do NOT microwave without the damp paper towel. The bagel will dry out and turn rubbery. Also, never microwave on full power, it cooks the bagel instead of gently reheating it.
Frozen vs. thawed first: Does it matter?
Short answer: Yes, but not as much as you’d think.
Reheating from frozen is faster and more convenient. You can go from freezer to breakfast in under 10 minutes. The downside is that you need to be more careful with heat settings to avoid burning the outside while the inside is still cold.
Thawing first gives you more control. If you let the bagel sit at room temperature for 15–20 minutes before reheating, it’ll toast more evenly and you’ll have less risk of a cold center. The downside is that it takes more time, and if you forget about it, the bagel starts to dry out.
Our take: Most of the time, reheating from frozen works great if you use the right method (toaster on medium or oven with foil). But if you’re particular about texture, or if you’re using a method you’re less familiar with, give it 10 minutes to thaw first.
Tips from the trenches
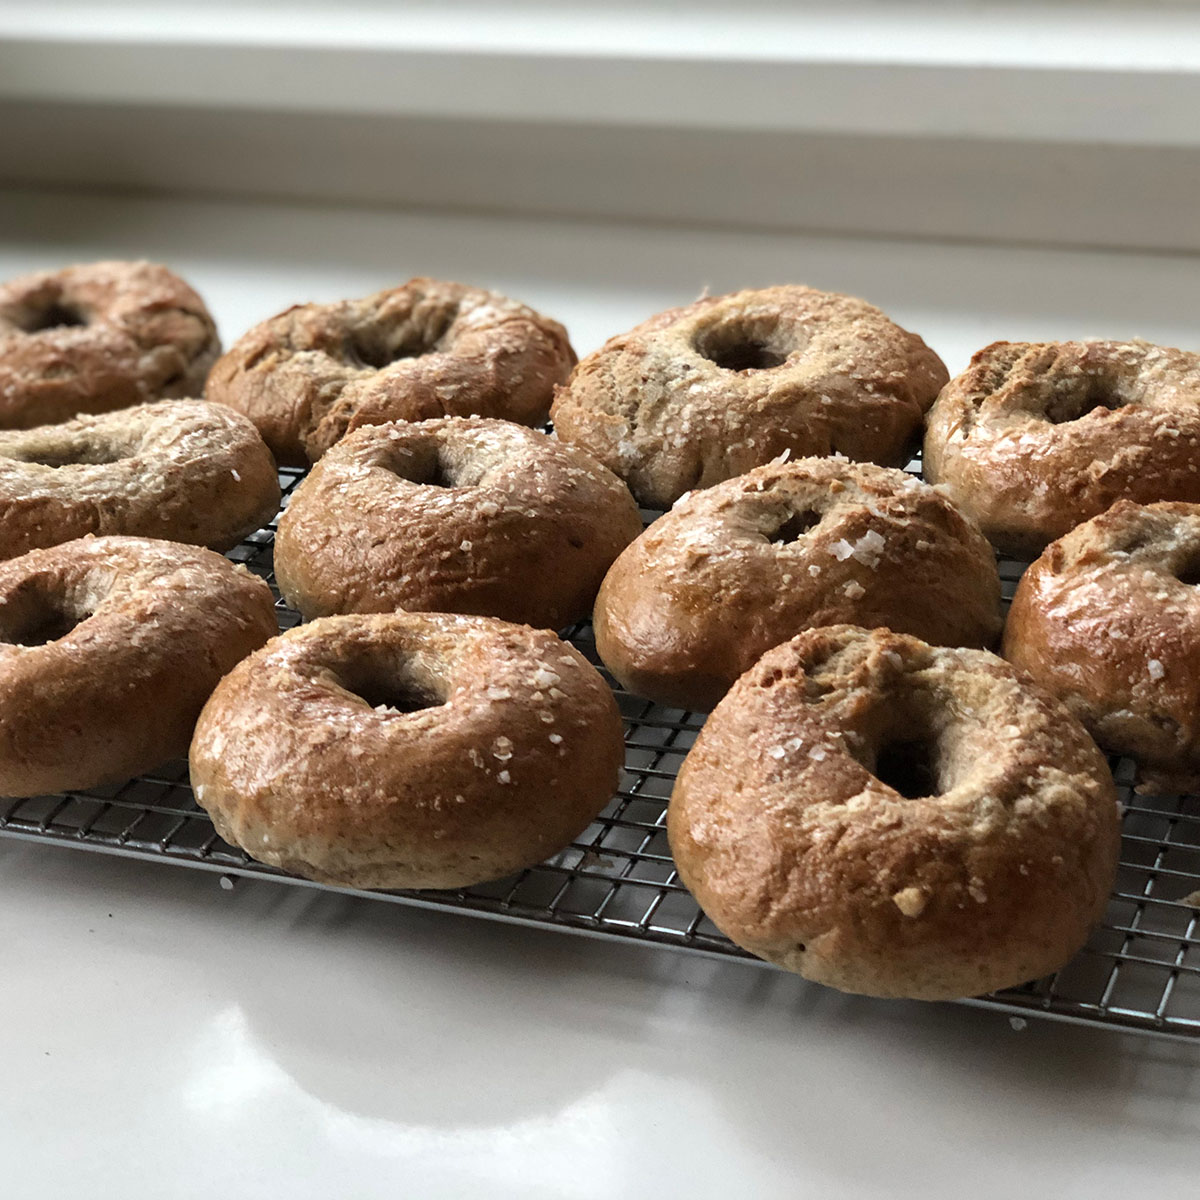
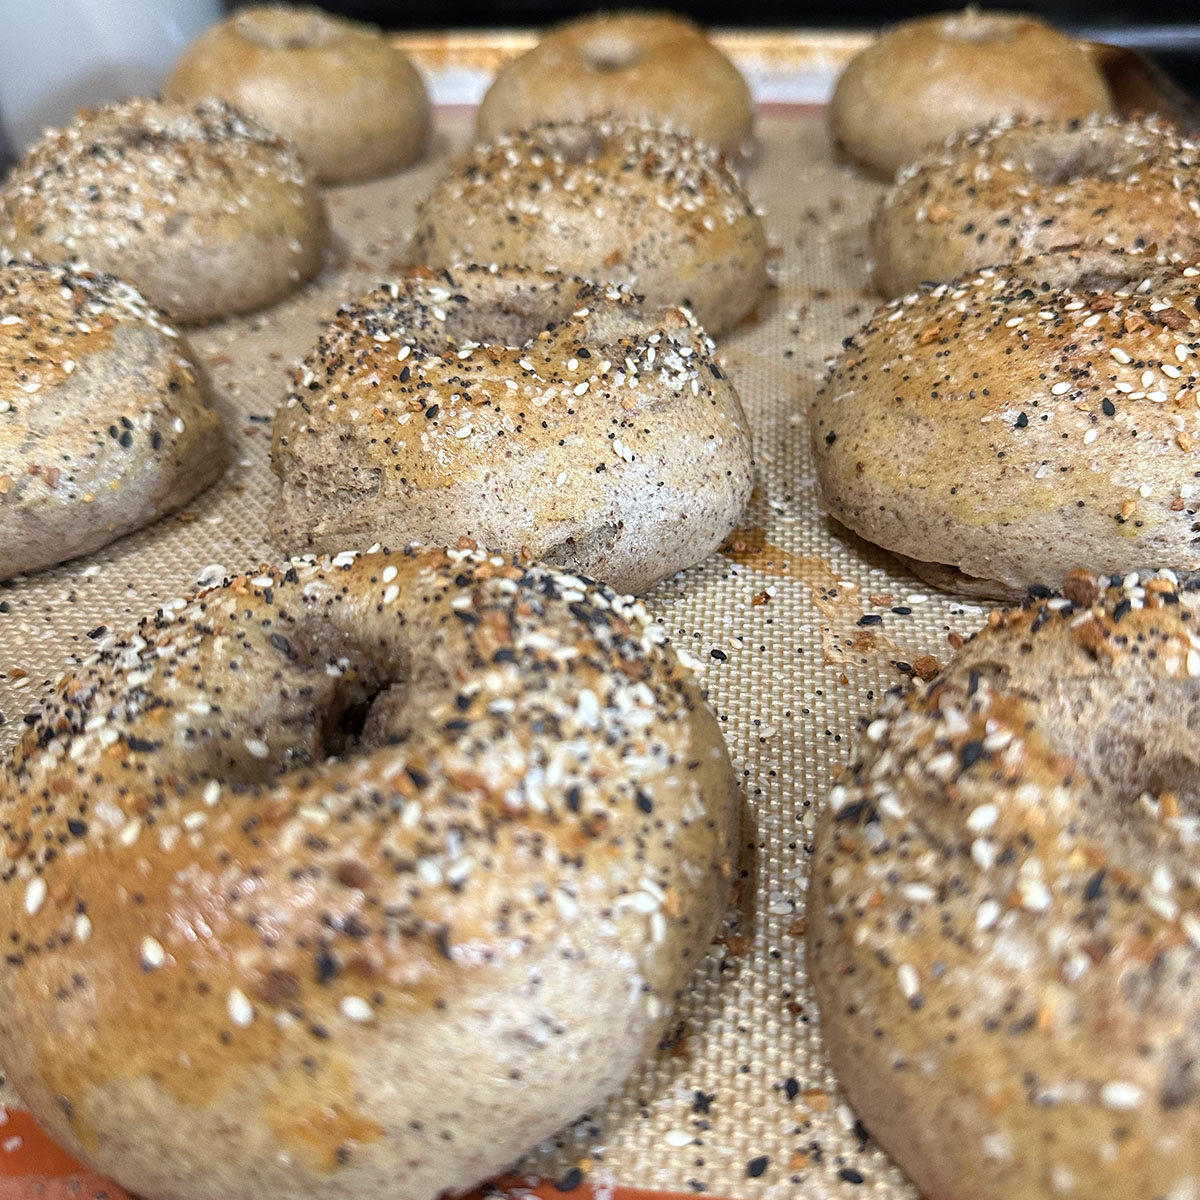
We’ve reheated thousands of gluten-free bagels at Sweet Chaos Bakery (taste-testing is a tough job, but someone’s got to do it). Here’s what we’ve learned:
Slice before freezing. Seriously. Trying to saw through a frozen bagel with a butter knife is a good way to lose a finger. Plus, sliced bagels toast more evenly.
Don’t toast on high heat. Gluten-free bagels burn faster than wheat bagels. Medium heat is your friend.
Add toppings after reheating, not before. Let the bagel crisp up first, then add cream cheese, avocado, or whatever you’re into. Toppings added before reheating get weird and melty (and not in a good way).
Use the bagel within a day of thawing. Once a gluten-free bagel is thawed, the clock is ticking. It’ll stay fresh for about 24 hours at room temp, but after that, it starts to dry out.
Keep a stash in the freezer. The beauty of frozen gluten-free bagels is that you always have breakfast ready. No need to eat them all at once.
Experiment with your toaster settings. Every toaster is different. Start with medium heat and adjust from there based on your results.
FAQs
How long does it take to reheat a frozen gluten-free bagel?
Can you reheat gluten-free bagels in an air fryer?
Why does my gluten-free bagel get soggy when I reheat it?
Can you reheat a gluten-free bagel more than once?
What's the best way to store gluten-free bagels after reheating?
The takeaway
Reheating frozen gluten-free bagels isn’t hard, but it does require a little more attention than regular bagels. Use moderate heat, give the bagel a few minutes to thaw if you can, and don’t rush the process. Whether you use a toaster, oven, or microwave-toaster combo, the key is controlling moisture and heat so you end up with a crispy, chewy, perfectly warmed bagel.
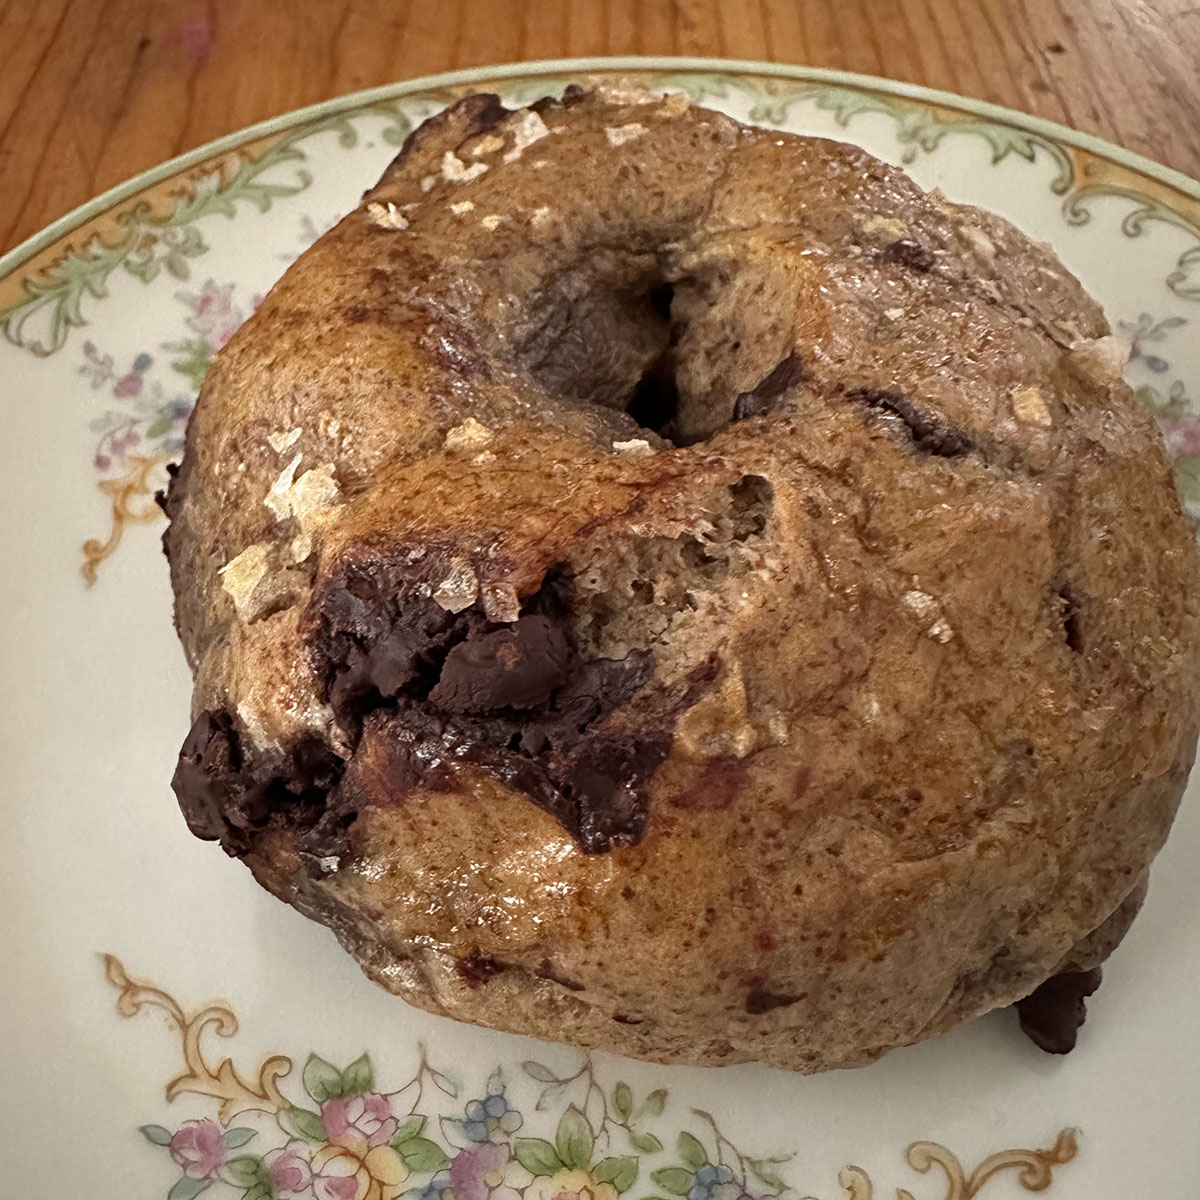
And if you’re tired of gluten-free bagels that fall apart or taste like cardboard no matter how you reheat them, try Sweet Chaos Bakery bagels. We designed them to freeze beautifully and reheat like a dream. Because breakfast shouldn’t be a compromise.
Latest Articles
Gluten-Free Bagel Sandwich Ideas (Breakfast, Lunch, Dinner)
Get creative with gluten-free bagel sandwiches. 20+ ideas for breakfast, lunch, and dinner plus Paleo-friendly options and meal prep tips.
Read MoreHow to Toast Gluten-Free Bagels Perfectly
Learn how to toast gluten-free bagels perfectly every time. Step-by-step guide for toaster, oven, and air fryer methods.
Read More15-Minute Gluten-Free Breakfast Ideas (Quick & Easy)
No time for breakfast? Get 15 quick gluten-free breakfast ideas ready in 15 minutes or less. Plus make-ahead options for busy mornings.
Read More